Joyor S10-S-Z · Tyres & wheels
Flat tyre or puncture
The tyre is soft or fully flat. On this scooter that almost always means a new inner tube.
Is this your problem?
- Tyre squashes flat when you stand on the deck
- Scooter pulls or feels like it is riding on the rim
- You heard a pop or hiss
Likely causes
Pump the tyre up to the pressure on the sidewall and listen. A fast hiss means a hole; no hiss may just be a very slow leak (see the slow-leak guide).
What you need
Tools
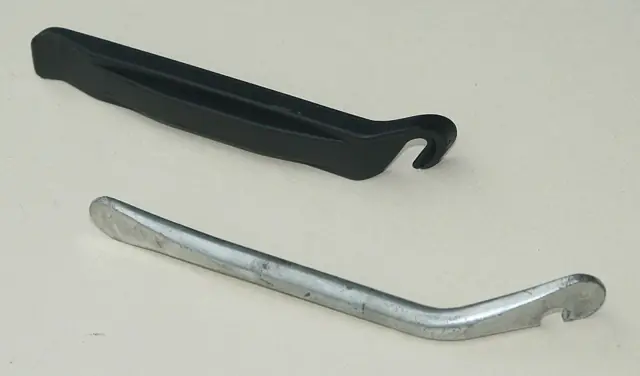 Example photo
Plastic levers are kinder to the rim. Small scooter tyres are tight, so a strong nylon or steel-core pair helps.
Photo: Ian Harvey, Public domain, resized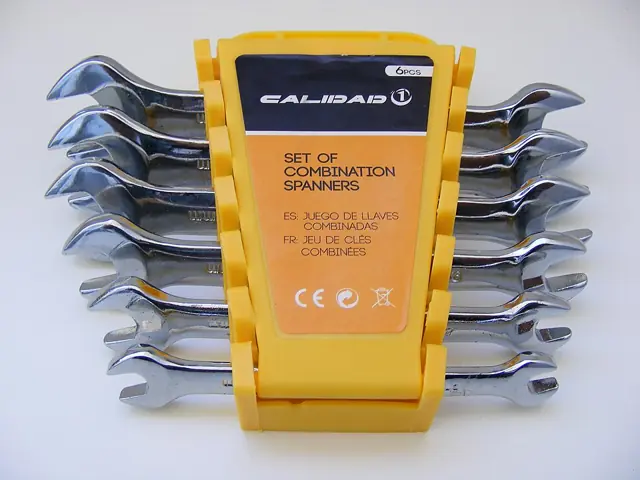 Example photo
Metric. The axle nuts on 10-inch scooters are usually big (often 18 mm or more): measure yours before buying.
Photo: Fructibus, CC0, resized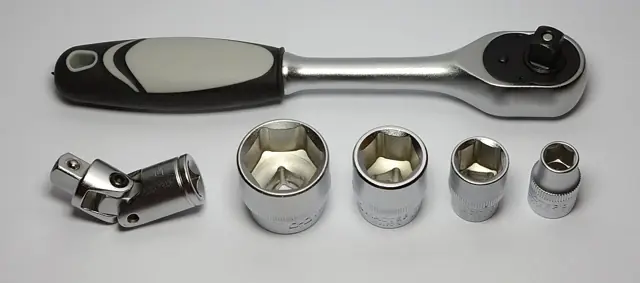 Example photo
Metric sockets. A deep socket helps on axle nuts that sit on a long thread.
Photo: Kae, CC BY-SA 3.0, resized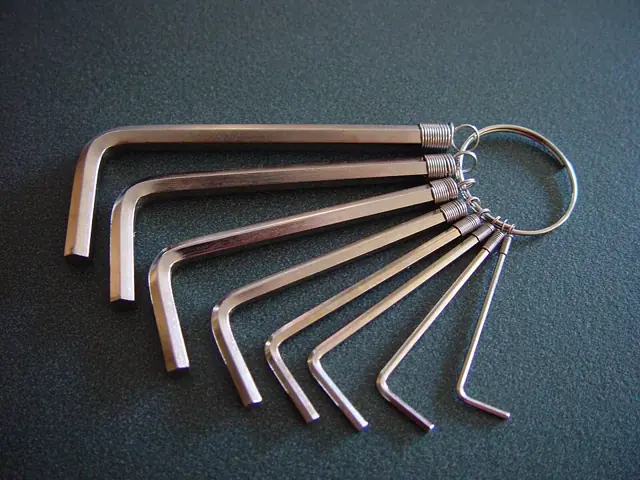 Example photo
A metric set, roughly 2 mm to 8 mm. Long-arm keys reach the recessed bolts on the stem and deck.
Photo: Leon Brooks, Public domain, resized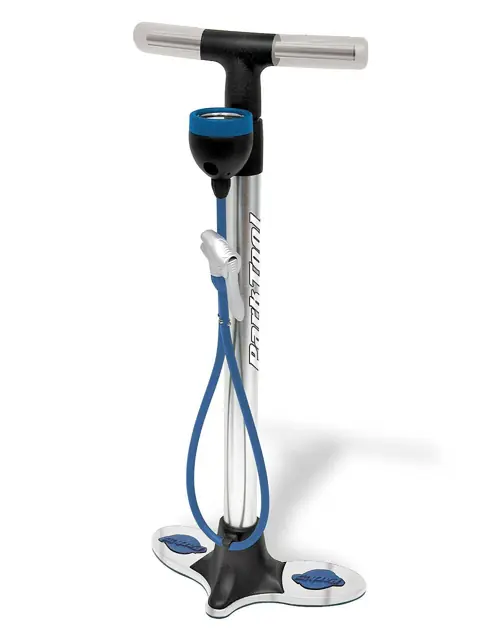 Example photo
A floor pump with a gauge. Scooters like this one normally have a car-style (Schrader) valve: check yours and make sure the pump head fits it.
Photo: Ewok Slayer, Public domain, resized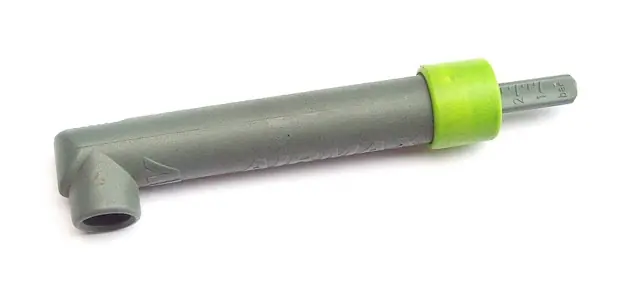 Example photo
Any gauge that fits your valve. The gauge on a cheap pump can be off by a lot, so a separate one is worth it.
Photo: Simon Speed, CC0, resized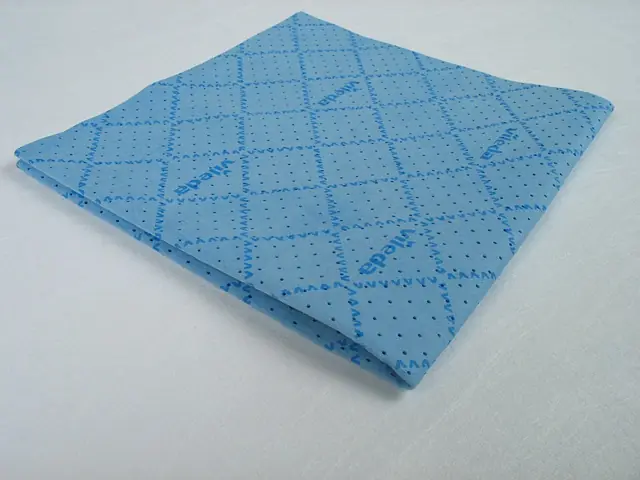 Example photo
A clean microfibre cloth or paper towel. Never one that has had oil or polish on it for brake work.
Photo: Polyesterchen, Public domain, resized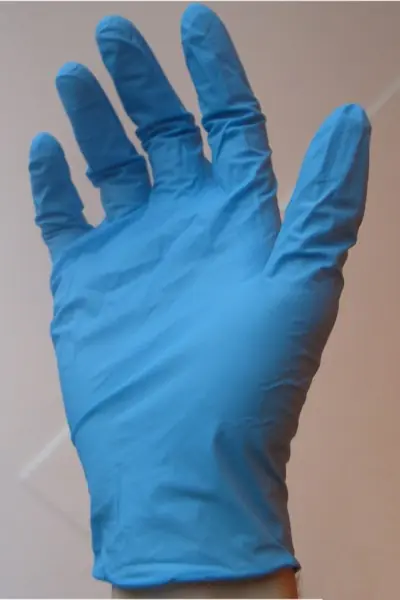 Example photo
Keep skin oil off the brake parts, and brake fluid off your skin.
Photo: unknown, Public domain, resizedParts
 Example photo
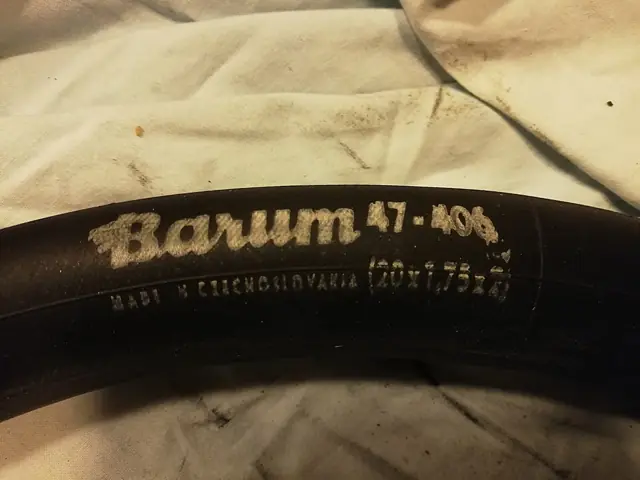
Size 10 × 3 (also sold as 255 × 80 or 80/65-6), with a bent valve like your old one. Copy the size and valve from the old tube.
Photo: Oostblokblik, CC BY-SA 4.0, resizedPhotos show the kind of tool or part, not a specific product. We don’t sell anything and get nothing from any shop.
Step by step
Tap a step when it’s done to keep your place.
- Switch off and unplug
Power off, unplug the charger. Fold or tip the scooter so the flat wheel is off the ground and easy to reach. Put a cloth down so nothing gets scratched.
- Take photos first
Photograph the wheel from both sides: where the motor cable goes, how the axle nuts and washers sit, how the brake caliper is fitted. You will copy these when putting it back.
- Unplug the motor cable
The motor cable leaves through the axle. Follow it to its plug and unplug it, or free enough cable-tie so the wheel can come out without pulling on it. Never pull the cable itself.
- Free the brake caliper if needed
If the brake disc cannot slide out past the caliper, undo the two caliper bolts and move the caliper aside with its hose still connected. Do not squeeze the brake lever while the disc is out: the pads will close up.
Never undo the brake hose itself. Hydraulic brakes then need bleeding.
- Undo the axle nuts and take the wheel out
Loosen both axle nuts, keep every washer in order (lay them out on a cloth), and slide the wheel out of the rocker arms.
- Let the rest of the air out and get the tyre off
Press the valve pin to empty the tube. Look at the rim. If it has a ring of bolts on the side, it is a split rim: undo those bolts and the rim comes apart. If not, push the tyre edge into the middle of the rim all the way round, then lever it over the edge with two tyre levers, working a little at a time.
- Find the cause before fitting a new tube
Run your fingers carefully round the inside of the tyre to find anything still stuck in it. Pump the old tube a little and find the hole: it tells you where to look on the tyre. Skipping this is how people get a second flat the next day.
- Fit the new 10 × 3 tube
Put a little air in the new tube so it holds a round shape. Push the valve through the rim hole first, tuck the tube inside the tyre, then work the tyre back on (or bolt the split rim back together) without trapping the tube.
- Seat and inflate
Pump up slowly. Check the moulded line on the tyre sits evenly above the rim all the way round, on both sides. Then pump to the pressure printed on the sidewall.
- Refit everything in reverse
Wheel into the arms, washers back as in your photo, axle nuts tight, caliper back with its bolts, motor cable plugged in and tied away from the tyre and disc. Squeeze the brake a few times before riding.
- Test slowly
Spin the wheel: no rubbing, no wobble. Switch on and check the motor runs. Ride slowly for a few minutes and test both brakes before any real ride.
Stay safe
- Tyre levers can pinch the new tube. Go slowly and use plastic ones if you can.
- Test the brakes before riding off. A caliper put back wrongly can rub or not grip.
When to take it to a shop
If the axle nuts are seized, the motor cable is damaged, or you cannot get the tyre bead on. Many bike and scooter shops will fit a tube you bring.