Joyor S10-S-Z · Brakes
Weak brakes or worn brake pads
The scooter takes longer to stop. Pads wear out; checking and swapping them is a normal job.
Is this your problem?
- Longer stopping distance
- Grinding or metal scraping sound when braking
- Lever pulls further than it used to
Likely causes
With a torch, look into the caliper from above and see how much pad is left on each side of the disc.
What you need
Tools
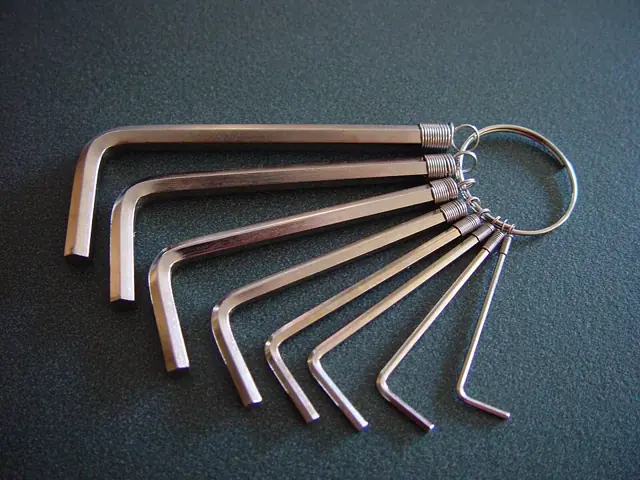 Example photo
A metric set, roughly 2 mm to 8 mm. Long-arm keys reach the recessed bolts on the stem and deck.
Photo: Leon Brooks, Public domain, resized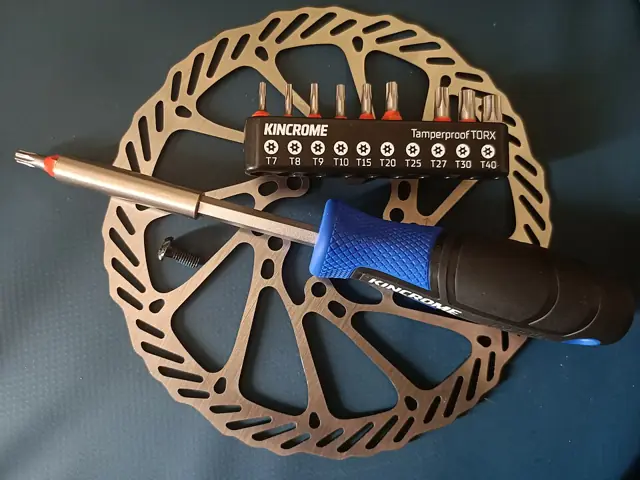 Example photo
A Torx set (T10–T30 covers most scooters). Brake disc bolts are often Torx; check the head shape before you buy.
Photo: JaredMcKenzie, CC0, resized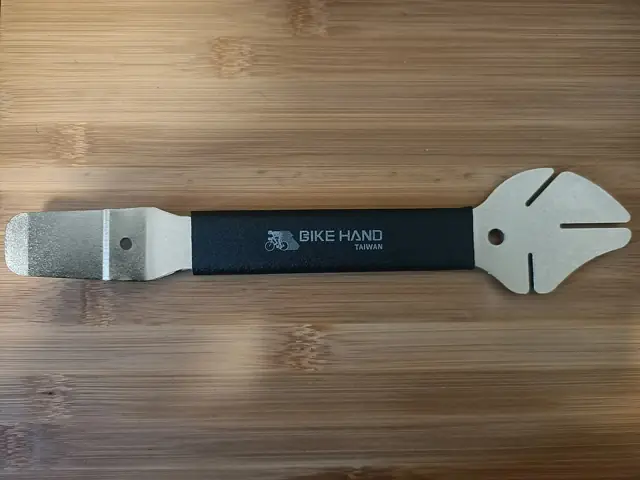 Example photo
Pushes the caliper pistons back before new, thicker pads go in. A clean plastic tyre lever also works.
Photo: JaredMcKenzie, CC0, resized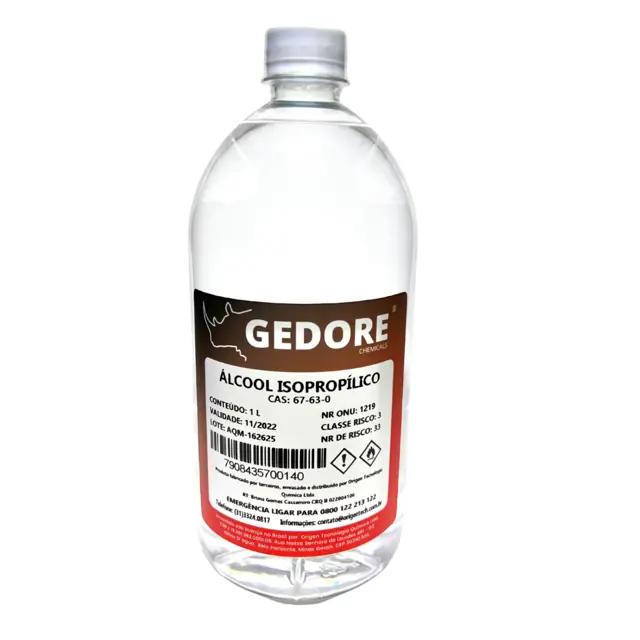 Example photo
90% or stronger. Cleans oil off brake discs and dries without leaving anything behind. Not the same as rubbing alcohol with added oils.
Photo: João Carlos Ávila, CC BY-SA 4.0, resized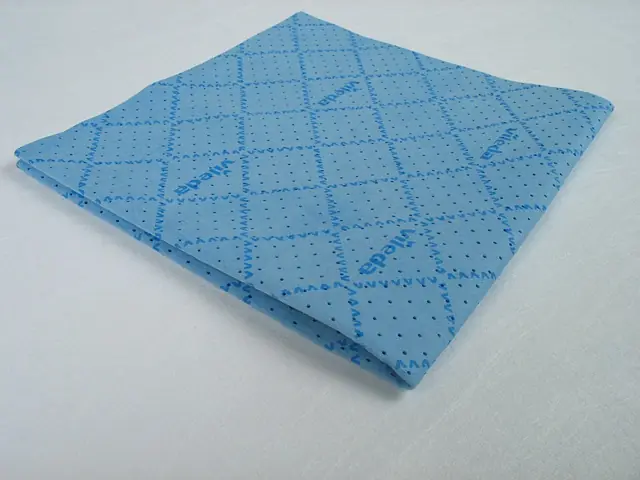 Example photo
A clean microfibre cloth or paper towel. Never one that has had oil or polish on it for brake work.
Photo: Polyesterchen, Public domain, resized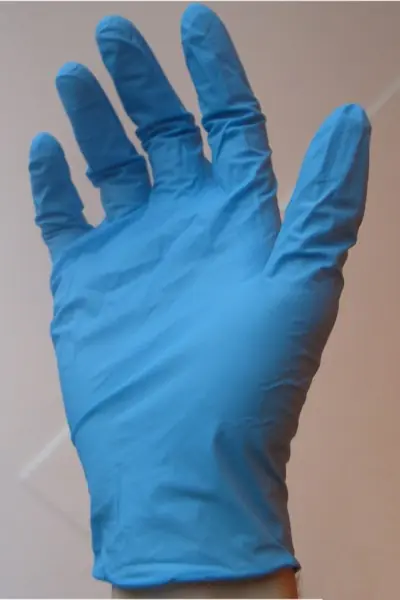 Example photo
Keep skin oil off the brake parts, and brake fluid off your skin.
Photo: unknown, Public domain, resized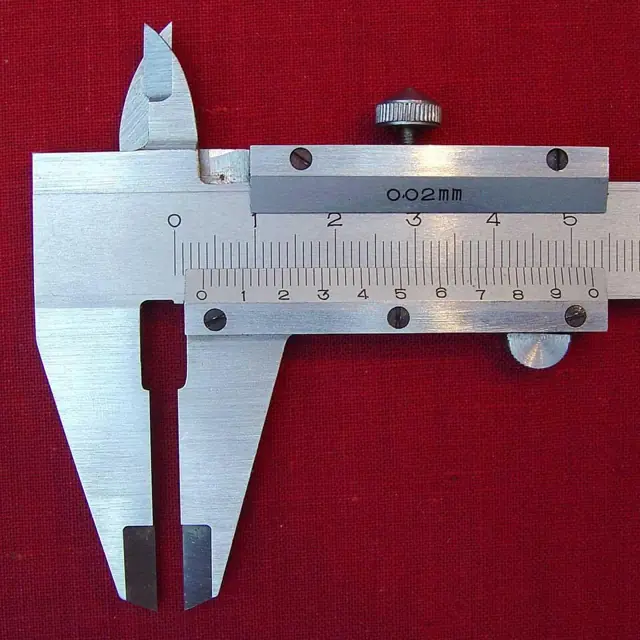 Example photo
To measure pad thickness and disc thickness. A cheap plastic set is fine.
Photo: ArtMechanic, CC BY-SA 3.0, resizedParts
 Example photo
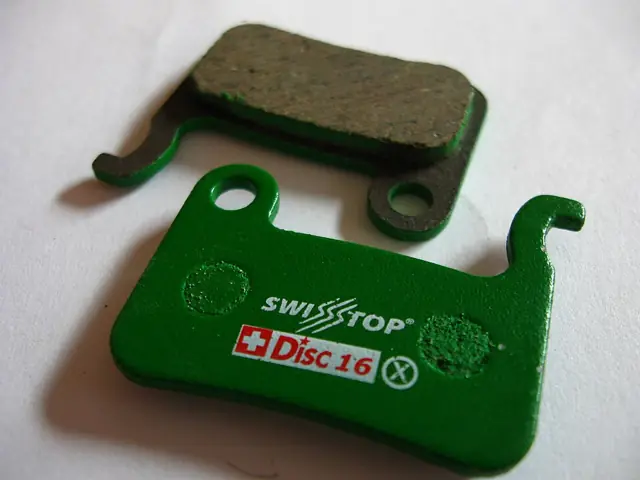
Pads are shaped to the caliper. Order ones listed for the Joyor S10-S-Z, or take an old pad to a shop to match the shape.
Photo: PetarM, CC BY-SA 3.0, resized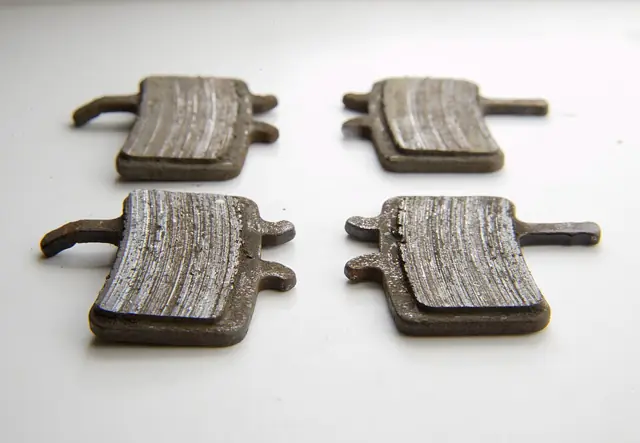 Example photo
For comparison: pads worn down close to the metal backing. Replace before they get this far.
Photo: Troy Sankey, CC BY-SA 4.0, resizedPhotos show the kind of tool or part, not a specific product. We don’t sell anything and get nothing from any shop.
Step by step
Tap a step when it’s done to keep your place.
- Get the right pads
Pads must match your caliper’s shape. Order pads listed for the S10-S-Z, or take one old pad to a shop to match it.
- Remove the old pads
Pads are held by a pin or bolt through the caliper, often with a small clip. Remove the clip and pin, and slide the pads out. Some calipers need taking off the arm first (two bolts).
- Push the pistons back
New pads are thicker. Push both pistons back into the caliper, evenly, with a pad spreader or clean plastic tyre lever. Do not use a screwdriver: it scratches the pistons.
- Clean the disc
Wipe the disc on both sides with isopropyl alcohol on a clean cloth. Do not touch the braking surface with fingers.
- Fit the new pads
With the spring between them, same way round as the old ones. Pin and clip back in. Squeeze the lever several times until it feels firm.
- Bed them in
Ride at a gentle speed and brake firmly to walking pace, about 10–20 times. This lays pad material onto the disc and gives full power.
Stay safe
- Test on a quiet road before riding normally.
- Always change pads in pairs (both sides of a caliper).
When to take it to a shop
If the disc is scored deep, bent or thinner than the size stamped on it.